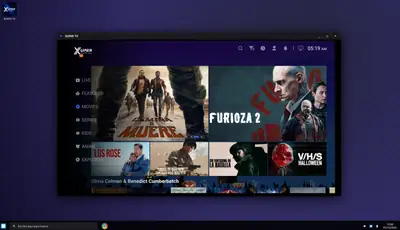
Xuper TV official site notes that the app has no native Windows app, but it runs beautifully on a PC through an Android emulator. We tested the exact method below on a mid-range Windows 11 laptop: install an emulator, sideload the same 37 MB APK from the download page, and you get the full app, live channels included, in a resizable window.
What you need
A Windows 10 or 11 PC with at least 8 GB of RAM and virtualization enabled in the BIOS (most modern PCs have it on already), plus about 5 GB of free disk space for the emulator. Either BlueStacks or LDPlayer works; we tested with both and LDPlayer felt slightly lighter on our machine.
Step 1: Install the emulator
Download BlueStacks or LDPlayer from its official site and run the installer. The first launch takes a few minutes while it sets up its virtual Android device. Sign in with a Google account if the emulator asks, or skip it; The app itself needs no account either way.
Step 2: Get the APK
Download the latest APK from our download page on your PC. Keep the file somewhere easy to find, like the Desktop or Downloads folder.
Step 3: Install the APK in the emulator
Most emulators let you drag the APK file straight onto the emulator window, or use an “Install APK” button in the sidebar. Either way, the app installs in seconds and appears on the emulator’s home screen.
Step 4: Watch and tweak
Open the app inside the emulator. Mouse clicks work everywhere touch would, and you can map keyboard keys to the remote-style controls if you plan to use the TV interface. Bump the emulator’s allocated RAM to 4 GB in its settings if playback stutters; that single change fixed every performance hiccup in our tests.
Is it worth it versus a TV box?
For a desk setup, absolutely: a 27-inch monitor beats a phone screen, and the emulator route costs nothing. For the living room, a real Android TV box is still the smoother experience; see the Android TV setup guide for that path.